

It’s rare, that a whole software project gets finished and the customer didn’t change any of his previous requirements. But now we already have developed code, designed hardware and wrote tests – which have to be changed now? How much will it cost? In this post I will show you how to answer this easily with Polarion.
To tackle this challenge, Polarion offers two features: Traceability and Suspect links. The traceability allows to analyse the impact of a change in the first place. The suspect links make sure, that everything impacted will be adapted.
While explaining how to do this in Polarion, I will go through it step by step:
- A customer requirement changes.
- Overview: what will be impacted?
- Start reworking: Use suspect links to notify assignees of the impacted items.
A Customer requirement changes
Note: If you don’t know yet, wether you want to allow these changes by the customer or not, simply do the following things in a copy of your specification.
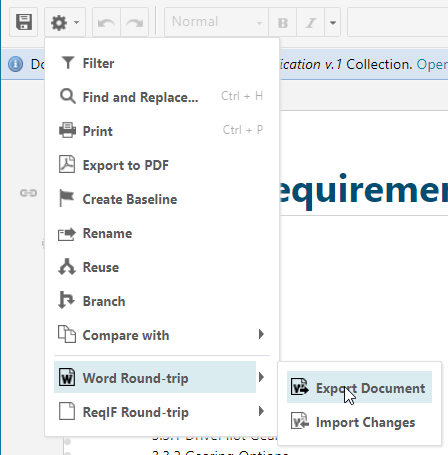
The first question is: how will the changes come into your project? Polarion offers a very efficient way – the round-trip functionality. Simply send a round-trip to your customer and import the changes back to your specification. You can decide, which fields should be editable. So go to Word Round-trip in your document.
And select „Collaboration“ to enable your customer to make changes. Here you can select, which additional attributes should be editable by the customer. So you can let him change the severity for example. This way your customer can say, which are the must haves.
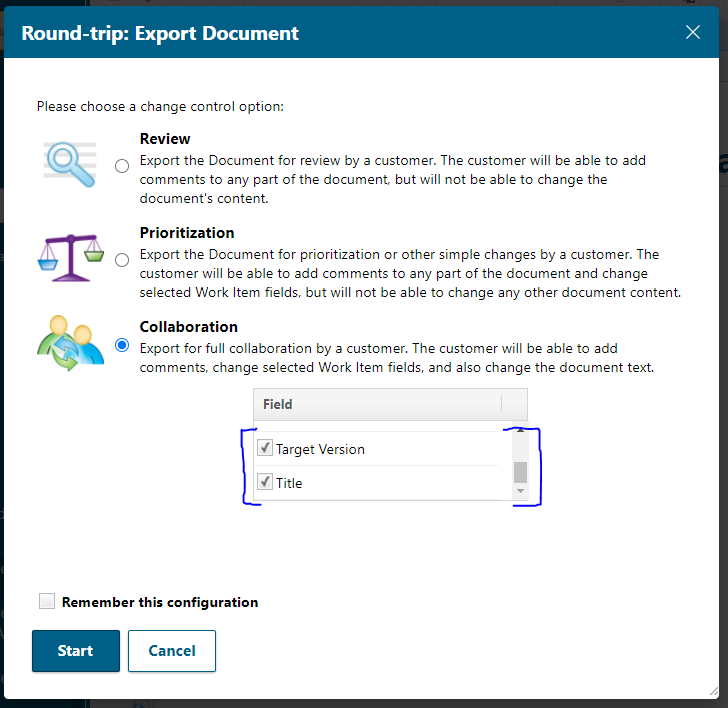
Note: You have to show the attributes in the document configuration, to enable the fields to be changed. (Obviously, as the word round-trip wouldn’t contain the attributes, to change them).
Note 2: There might be restrictions, as a few custom fields are exported as read-only. See: https://almdemo.polarion.com/polarion/help/index.jsp?topic=%2Fcom.polarion.xray.doc.user%2Fguide%2Fxid1489254.html&cp=0_2_3_31_4
Before re-importing this document, you should activate „Auto-Suspect“ for your document, before doing the changes.
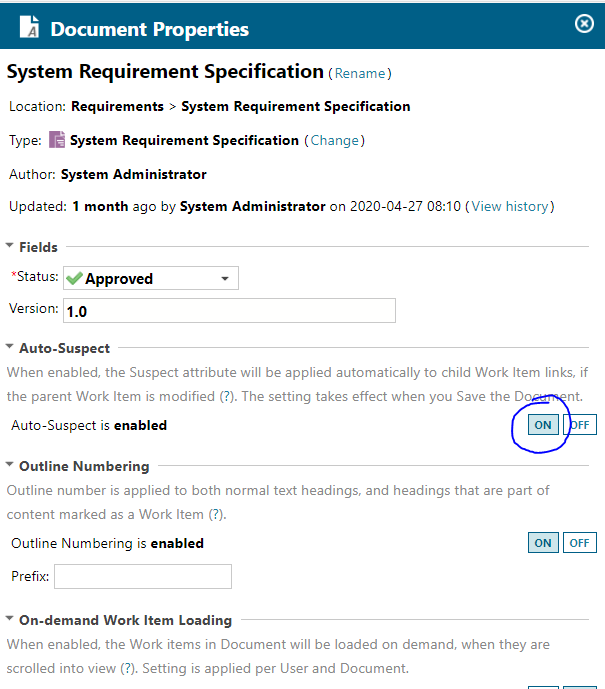
This way all linked child elements will get a „suspect“-tag on their link. (It won’t suspect parent-childs in documents, they need „real“ links).
The suspect may notify the assignees of the work items, or it can be made transparent by a simple report to show which work items have suspect links and need review (more to that later).
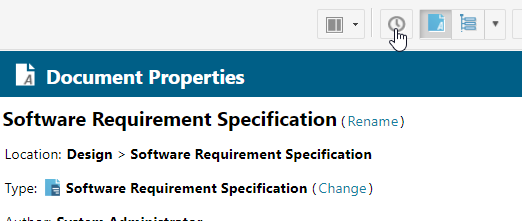
But first: How do I know now, which work items have been changed, if the customer sends me the changed specification? This can be made transparent by comparing the last two document revisions. Therefore go to the history of your specification:
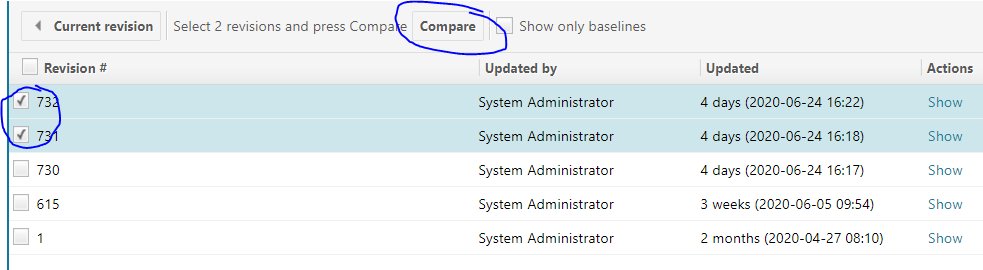
Select there the history version of your document before the import and the latest version after the import.
When you ask yourself: Hey, do I have to remember these revision numbers for every import to know, when I’ve imported something? No, you can give revisions a name in the section „Baseline“.
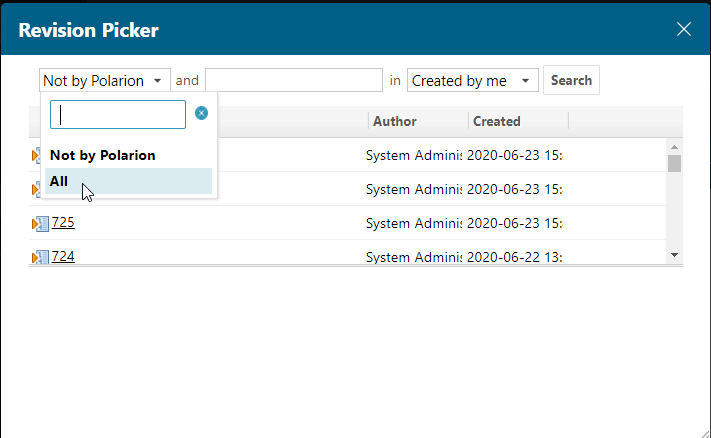
To do this, navigate to the section „Baseline“, click „Create“, add the name and select the revision with the revision picker.
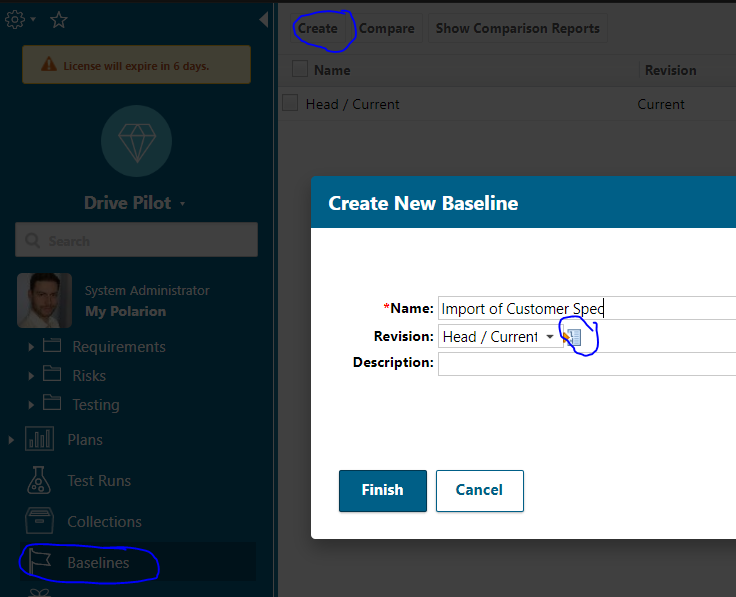
In the revision picker you might have to select „All“, to get the revision you want. Then click „search“ again.
After saving your Baseline, It will then look like this in the document history:

This way you know, which revision of the document was before and after certain imports. Even years after the project was finished. – This way you can prevent a requirement scope creep easily (the customer adding requirements unrecognized during project).
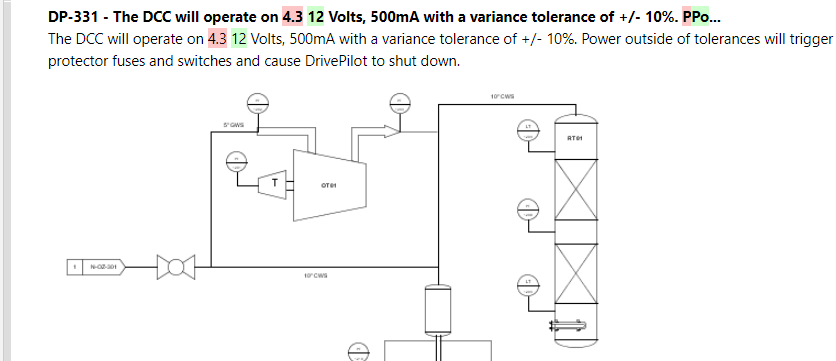
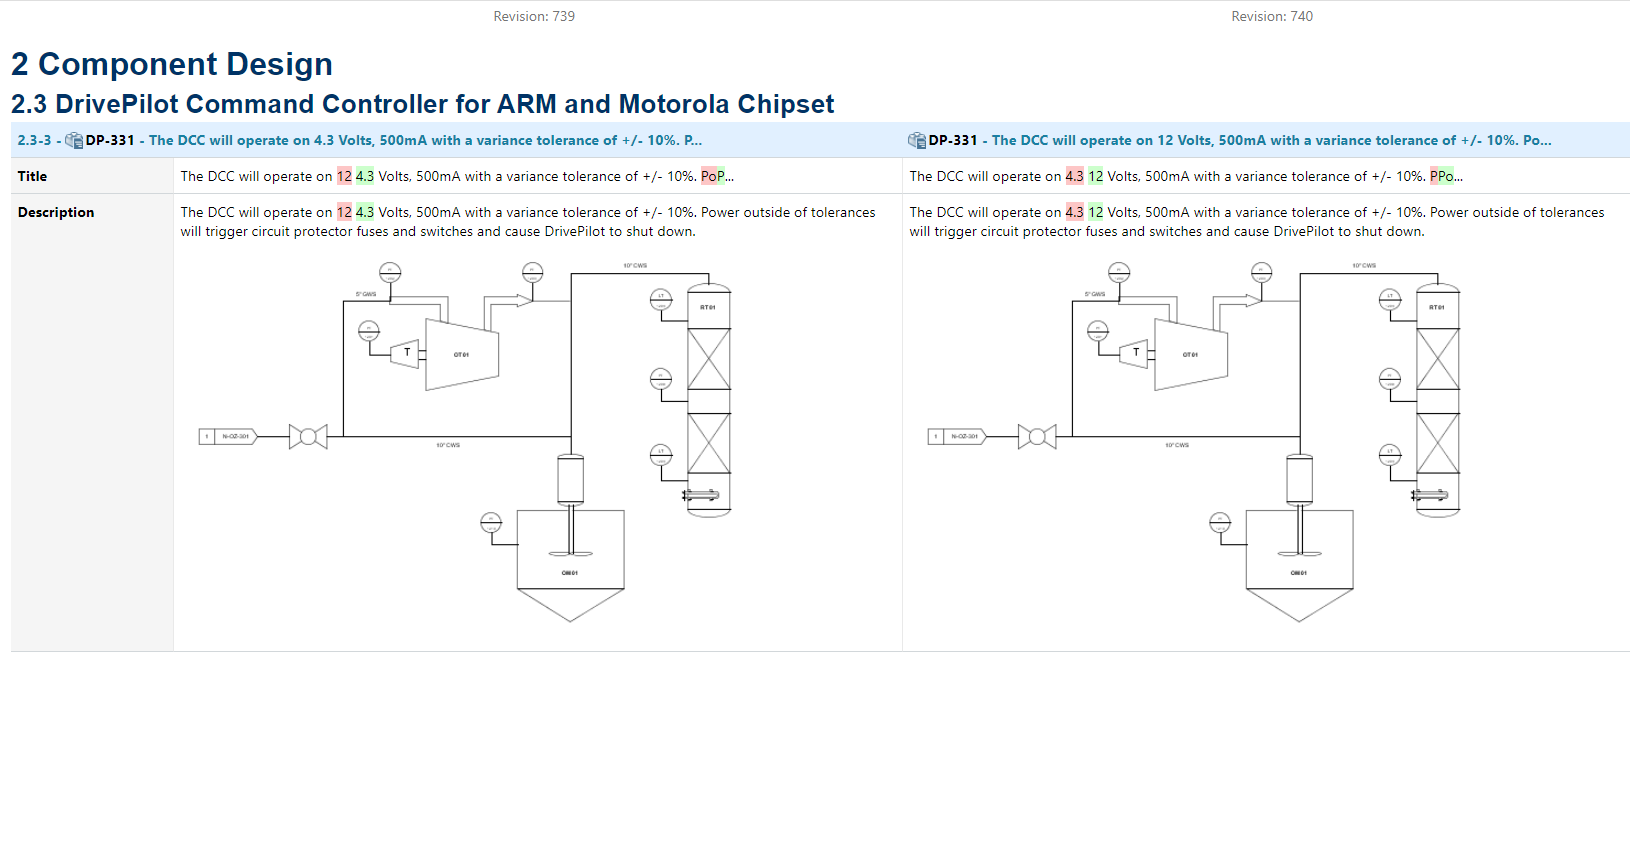
Now back to finding out, what has been changed. If we click in the history on comparing these two revisions, then changes will be highlighted in the document:
So for example here the customer changed the requirement from 4.3 to 12 Volts. The removed content is highlighted in red and the added content is highlighted in green.
To not having to go trough the whole document and check each work item, you can click on „Work Items“ in the top bar.
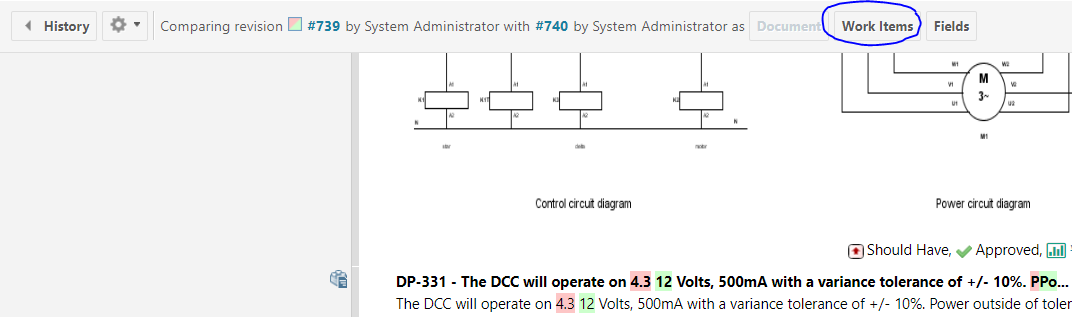
There only the changed work items will be listed.
Now here we have the full list of Work Items impacted by customer changes.
Overview: What will be impacted
As we now have the full list of impacted work items, we can check, what the impact of the changes will mean for us.
Therefore I recommend this free extension: https://extensions.polarion.com/extensions/309-multilevel-traceability-widget
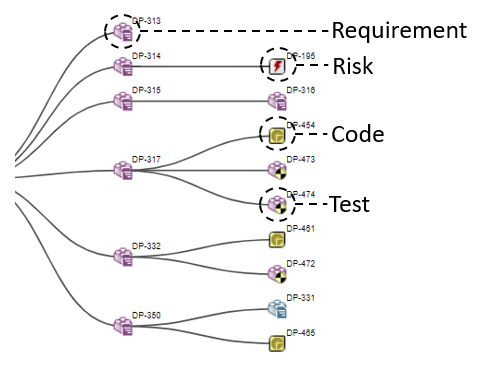
This extension allows you to show all impacted items as table or graphically:

You can even print custom fields to this report and show as many levels as you like. Therefore configure the ID’s of the impacted work items. How this can be made easier, see my post about „page parameters“.
This way you have a complete overview of all impacted work items. If they have attributes like costs or similar, you can print them directly in this overview.
So now we know: Which attributes were changed and which were impacted by these changes.
Start reworking: Use suspect links to notify assignees of the impacted items.
Now we want to make sure, that all impacted work items get adapted. But maybe some „child“ items can stay the same. To be efficient in this process, Polarion has the ability of „suspect“ links. If you change a parent item and click „Save and Suspect“ or have it enabled for the whole document or project, all links to child-items get the attribute „suspect link“, if a change appears.
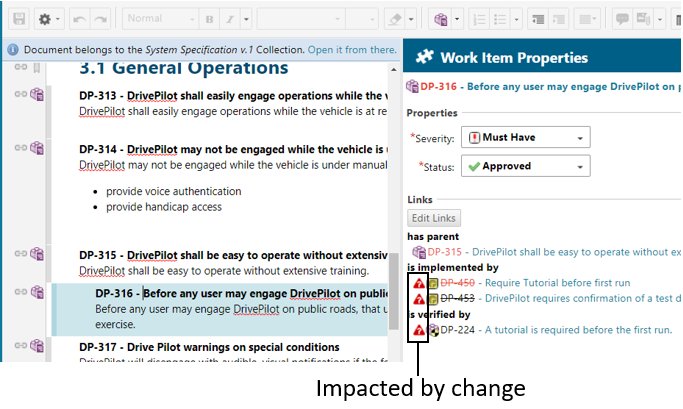
This means: If you’ve activated the functionality „suspect link“ for documents before importing, you only have to go trough all the suspected items and review them. To show you what a suspect link is, I want to show it.
Before changing the requirement, the child-items have no special sign in front of them.
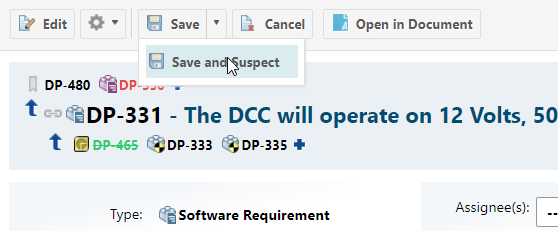
But if I change something and say „Save and Suspect“, all links will get the „Suspect“ attribute.
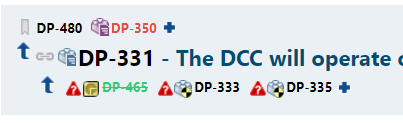
This means, that the assignees of the child-items get notified or a report might show them their suspected items. They have to review them and maybe adapt it to the changed requirement. In case that no change is required, they would simply remove the suspect attribute. And as this item is not impacted, so it’s child-items won’t be either. But if it’s affected, the assignee would make changes and click again „Save and Suspect“. This would trigger suspecting child-items again. That process would go on, until all „levels“ are reviewed by their assignees.
By using this process, you can easily ensure the consistency after changes and also assign the reviews automatically.